

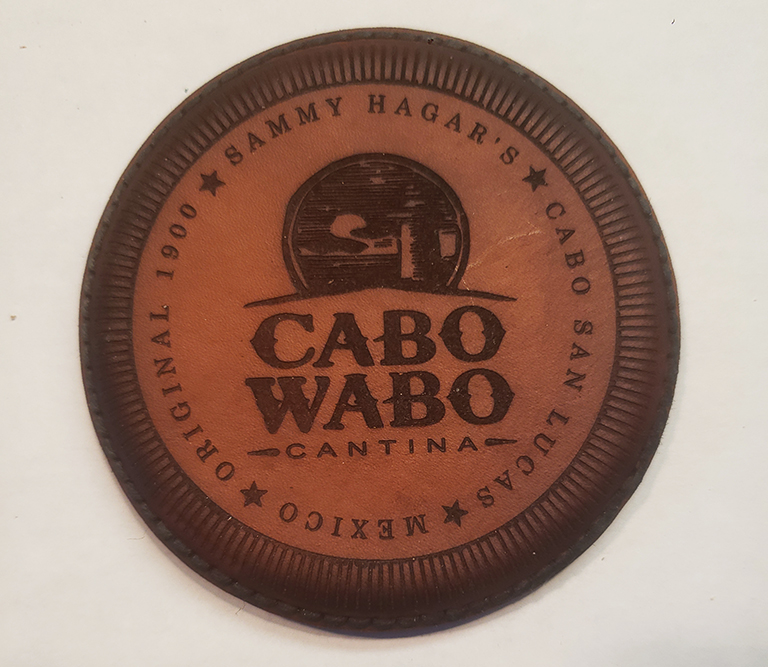
We can take your graphic and laser etch it onto the surface of your choice: Leather, Slate or Ceramic Tile.
Simply attach a file via email to service@kdxdesigns.com, and we can work with you to make it a reality.
We can work with .ai, jpg, png, svg fie types.
We have some generic ideas that are suitable for everyone.
Please be aware that the simpler the design, the better the result will be.
Please have a look at post below on preparing a graphic
In some cases the image you uploaded may not be suitable for engraving.
If that is the case, we’ll get in touch with you and offer some options
.
Mastering Vectorization: A Gudie to Preparing Graphics Using Free Online Software
Are you tired of pixelated images and limited scalability? It’s time to delve into the world of vector graphics! Vector images are a game-changer when it comes to retaining quality and adaptability across different sizes and mediums. The best part? You don’t need expensive software to vectorize your graphics. In this guide, we’ll walk you through the process of preparing your graphics for vectorization using free online software. Get ready to unlock a whole new realm of design possibilities!
Step 1: Choose the Right Image
Begin by selecting the image you want to vectorize. Keep in mind that complex photographs may not be suitable for vectorization, as they often require manual tracing and detailing. Opt for images with clear lines, distinct shapes, and limited color gradients for the best results.
Step 2: Clean Up Your Image
Before you jump into vectorization, take a moment to clean up your image. Crop out unnecessary portions, adjust the brightness and contrast if needed, and remove any blemishes or artifacts. This step sets the foundation for a smoother vectorization process.
Step 3: Convert to High Contrast
Free online software like GIMP or Inkscape can be your best friends for this task. Open your image in the software of your choice and convert it to high contrast. This step helps distinguish between different elements in your image, making them easier to trace during vectorization.
Step 4: Simplify and Reduce Colors
Complex color palettes can make vectorization challenging. Aim to simplify the color scheme of your image by reducing it to a few primary colors. This not only streamlines the vectorization process but also enhances the overall visual impact of your design.
Step 5: Enhance Edges
For smoother vectorization, you want your edges to be as clear as possible. Use tools in your chosen software to enhance the edges of your image. This might involve increasing sharpness or using edge detection filters. The goal is to have well-defined lines that will translate seamlessly into vector shapes.
Step 6: Remove Background
If your image has a background, it’s time to remove it. Use the eraser tool or a background removal tool in your software to isolate the subject of your image. A transparent background is ideal for vector graphics as it allows for more flexibility in its application.
Step 7: Export as SVG or AI
Now that your image is prepped and ready, it’s time to export it in a vector format. SVG (Scalable Vector Graphics) and AI (Adobe Illustrator) are the go-to formats for vector images. Both formats retain the scalability and quality of your image. Choose the format that suits your needs and the software you’re comfortable with.
Step 8: Review and Refine
After exporting your vector image, take a moment to review it. Zoom in to check for any imperfections or jagged edges that might have been carried over during the vectorization process. If needed, you can refine your vector shapes using the tools provided by your software.
Step 9: Celebrate Your Vector Masterpiece!
Congratulations, you’ve successfully prepared and vectorized your graphic using free online software! You now have a scalable and versatile vector image that can be used for anything from logo designs to large banners without compromising quality.
Embrace the power of vector graphics and enjoy the freedom of creative expression without the limitations of pixel-based images. With a little practice, you’ll be creating stunning vector artwork that’s ready to shine in any context. So go ahead, transform your designs and let your creativity flourish in the world of vectors!